7 Simple Hacks to Look Good in Photos

7-simple-hacks-to-look-good-in-photos

Coming into the holiday season, it’s inevitable that you’ll be subjected to being in countless photos. Catching up with family and friends you haven’t seen in a while naturally urges everyone to document the moment. Whether it’s your friend taking shots for Instagram or your aunty getting pictures for her scrapbook, the Christmas and New Year period is filled with flashes and filters. Unfortunately, most of us aren’t naturally all that photogenic and being the subject of so many photos typically leads to more than a couple we wished didn’t exist. This year, however, that needn’t be the case. By following these simple hacks, you can banish bad photos forever and experience a merry holiday without having to worry about what might end up online.

1. Study Photos of Yourself

The first step to looking better in photos is to really get to know what you look like in them. Pull out old photographs you like and dislike and study them, determining what works for you and what doesn’t. Look at the angle of the shot and the angle of your face to find what looks most flattering for you. Study your different poses and try to spot a pattern of what works for your body. Then, try to recreate these angles and poses in the future.

TOP TIPS

  • If you’ve discovered that you’re a culprit for blinking in photos, close your eyes just before a picture is taken and open them slowly before the camera clicks.
  • To avoid a double chin, elongate your neck and push your face forward, tilting your chin down slightly.
  • If you’re finding that your smile looks wide and goofy, try putting your tongue behind your teeth.

7-simple-hacks-to-look-good-in-photos-2

2. Practice Makes Perfect

Once you think you’ve identified what works for you in photos, head to the mirror and start practicing. Practice makes perfect, so be sure to spend some time on this step. Start by trying out the different angles and poses you liked from previous photos. Most people tend to look better with their head slightly to an angle instead of facing front. This gives features depth and tends to be more flattering. Be sure to get a good feel for the poses you like best so you’ll be able to recreate them without a mirror in the future.

Once you have your pose, add a smile, trying out different versions until you find the right one for you. Ask yourself if you look better with your mouth open or closed and if you should do a big smile or a subtle one. Then, select your best smile and stick with it for all new photos.

7-simple-hacks-to-look-good-in-photos-3

3. Choose the Right Lighting

When it comes to photography, lighting is everything, so choosing the right lighting is essential to looking good in any picture. Although you may be tempted to pose for happy snaps in the sun, overcast conditions are more ideal. The sun can create awkward shadows on your face if it’s in the wrong position, so a bit of cloud coverage is better. Likewise, don’t stand directly under a light when taking photos indoors as it will have the same effect. Try to stand facing a natural light source, such as a window, instead.

TOP TIPS

  • Taking photos in the evening can be even trickier than daytime. If you don’t have a professional DSLR camera and flash, you can invest in a LuMee phone case for your camera which has LED lighting on both sides to give you a soft light without the flash.
  • Red-eye tends to appear in low ambient light. If you find yourself in these conditions, look straight at a light just before the picture is taken to shrink your pupils and avoid this unappealing effect.
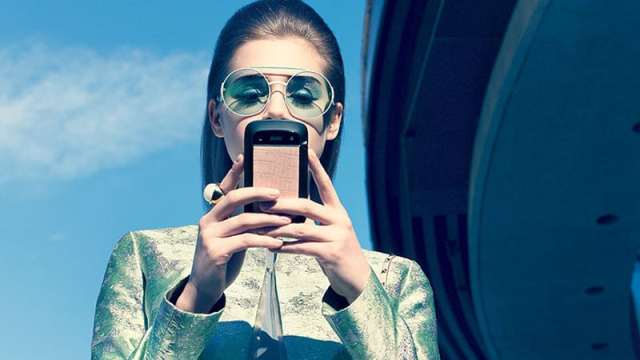
7-simple-hacks-to-look-good-in-photos-4

4. Use Phone Apps

Using apps to adjust and edit photos on your phone can mean the difference between an average and a fantastic photo. These days there are countless options for both taking photos and re-touching them on your smartphone. When it comes to taking photos, apps such as ProCamera and VSCO are some of the best on the market. Apps such as these will allow you to control elements like shutter speed, ISO, white balance, and exposure, meaning that you can achieve a much clearer photo than you could with your default camera. As for retouching photos you’ve already taken, apps such as Adobe Photoshop Express, Snapseed, and Face Tune will allow you to edit photos, retouch skin, apply effects, and create amazing portraits with ease.

7-simple-hacks-to-look-good-in-photos-5

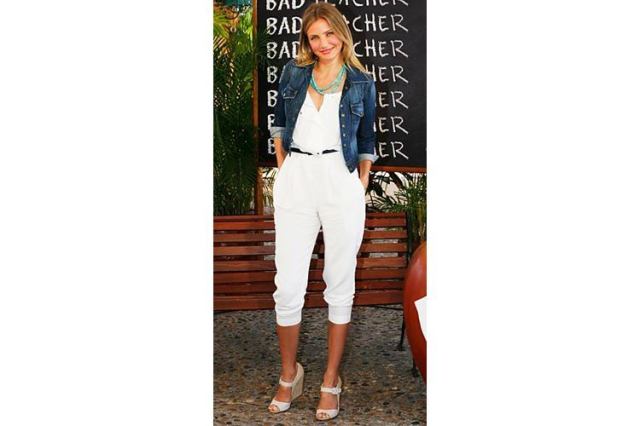
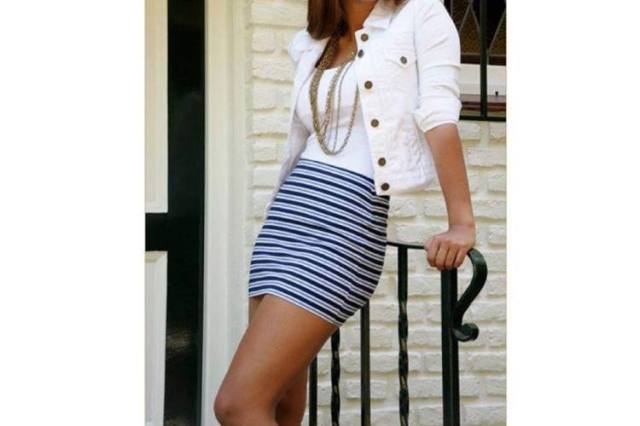
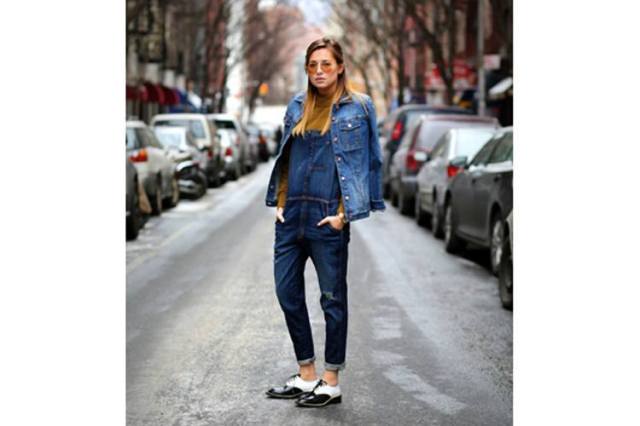
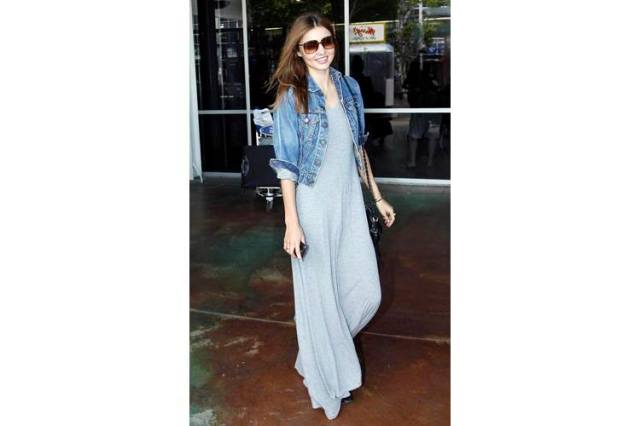
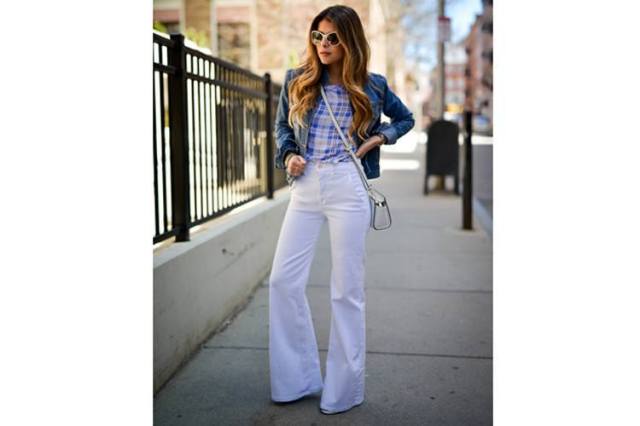
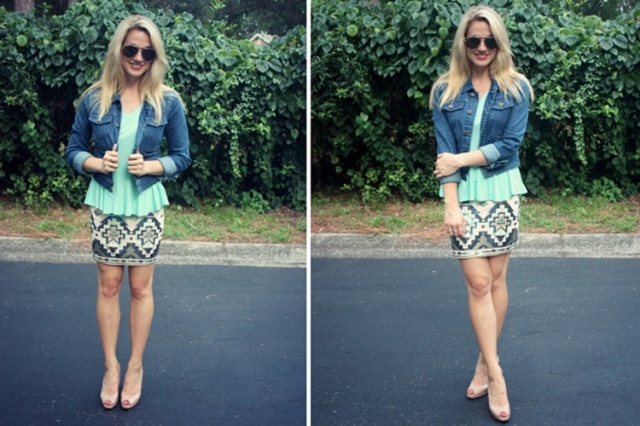
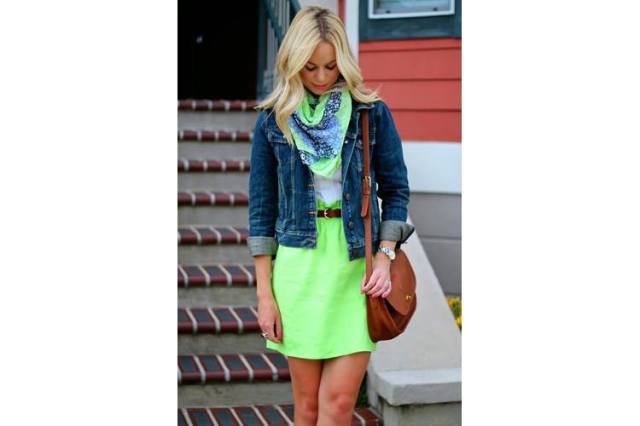
5. Wear Flattering Clothes

When preparing for photos, it’s essential to consider what you’ll wear and choose a flattering option. Part of doing so is knowing what looks good on you and what doesn’t. Opt for shapes and silhouettes that suit your body type and colours that compliment your skin tone. As a rule, tailored and structured pieces tend to create a well-defined shape and neutral tones, such as white, navy, grey, black, and olive suit most skin tones. Also, be mindful of patterns when dressing. Patterns aren’t always best for photos as they can distort your size and shape. If you really want to add pattern, choose it for a single element of your outfit and steer clear or small, busy patterns. Generally, though, solid colours are a safer option.

TOP TIPS

  • Bring attention to your best features with the aid of accessories.
  • Adding a belt to your waist is a fantastic way to define your shape and create an hourglass silhouette.
  • Be sure to wear heels (not wedges) to create a leaner silhouette and add height if you need it.

7-simple-hacks-to-look-good-in-photos-6

6. Get the Right Makeup

Wearing the right makeup and applying it correctly will go a long way to achieving a great photograph. The flash and lens can make your makeup look different than it does in real life, so it’s important to adjust your beauty routine accordingly. As cameras take a two-dimensional image, it’s important to use makeup to define your face. Likewise, the flash and lens can often leave subjects looking washed out and features diminished, so extra makeup may be required.

TOP TIPS

  • Apply a mattifying full coverage makeup base to keep skin looking smooth, even, and shine free.
  • Avoid SPF makeup as it can make your face look whiter under the camera’s flash.
  • Avoid products with shimmer and remove shine by applying translucent powder to your forehead, nose, and chin.
  • Contour your face by defining your bone structure with bronzer, giving cheeks dimension with blush and creating a radiant glow with some highlighter.
  • Remember to fill in brows to avoid looking washed out.
  • When applying eye shadow, use a neutral shade on the lid, darker shade in the crease, and highlighter on the inner corner and brow bone.
  • Make eyes appear bigger, brighter and more defined with eyeliner and either false lashes or natural, curled lashes covered in mascara.
  • Dark lipstick can make lips look smaller than they are, so stick to bright hues for luscious lips.

7-simple-hacks-to-look-good-in-photos-7

7. Hair

Your hair can also make or break a photo quite quickly, so it’s important to prepare it. The flash from a camera can highlight flyaways you didn’t even know were there. Keep frizz at bay by adding a good pomade or serum to hair during preparation. Rub it in your palms before using hands to smooth down hair. Finish prepping your hair by adding shine so it doesn’t look dull in photos. A simple spray-on shine will do wonders and only take a second to apply. Right before appearing in a photo, refresh your hair by simply turning your head upside down and shaking it up with your hands. This will add instant volume and stop your hair from appearing flat.

If you have thin hair, be sure to avoid relying on volumizing products.They give the illusion of volume in real life but the camera sees straight through them. Instead, create volume with volumizing shampoos and root lifting sprays.

7-simple-hacks-to-look-good-in-photos-9

30 DENIM JACKET STYLING IDEAS

Denim-Jacket-Styling-Tips

It’s time to take your denim jacket out of hibernation. The cool thing about a denim jacket is that you can pair it with almost everything. Denim jackets are classic, timeless pieces that will always be in fashion. No wonder we love them so much.

Here are some awesome ways in which you can style your denim jacket.

1. Pair it with a Jumpsuit
Cameron Diaz shows us how it’s done in this white jumpsuit with a denim jacket combination.

Denim-Jackets

2. Pair it with a Tulle Skirt
Nothing screams stylish better than this combination.


how-to-wear-a-denim-jacket

3. When Denim Goes White
While traditionally a denim jacket is blue, there is nothing stopping you from experimenting with other colours. I especially love this white denim jacket with a black and white outfit. The white jacket is dressier than a blue one would have been.

how-to-wear-a-denim-jacket-in-winter
4. Denim-on-denim Trend
You can never go wrong with this trend.

Ways-to-Wear-Your-Jean-Jacket

5. Make Your Maxi Work In Fall/Winter
Maxi dresses are typically reserved for summer and spring. But that does not mean you can’t find some clever ways to wear your maxi dresses in fall and winter as well. One such way to incorporate your maxi dresses into your winter wear is to add a denim jacket on top and complete the look with a pair of boots.

Jean-Jacket-for-womens

6. Pair it with a Pencil Skirt
A pencil skirt is dressy and classy, a denim jacket is casual and laid-back. So they shouldn’t work together right? Wrong! Check out how well a denim jacket goes with a pencil skirt. I am totally trying out this look.

Trendy-Denim-Jacket-Ideas

7. Whimsical and Tough
Pairing a denim jacket with a flowing full length skirt can lead to some interesting results, as you can see in the photo. I love how the tough denim is in total contrast with the flimsy skirt and yet the look works.

Leather-Jacket-Outfits

8. Wear it on The Red Carpet
Did you think that denim jackets are not red-carpet worthy? Well then let Hollywood actress Olivia Wilde prove you wrong. She wore a denim jacket over her little-red-dress and looked super hot.

Wilde-wrangler-denim-jean-jacket

9. Make it The Middle Layer
You don’t have to make your denim jacket your outer layer. You can always top it off with a winter coat to make the denim jacket your middle layer instead.

How-to-Wear-a-Cropped-Denim-Jacket

10. The Grungy Babe Look
Of course pairing your denim jacket with a t-shirt and skinny jeans is a classic look that you just cannot go wrong with.

denim-jacket-v-neck

11. Pair it with a Checked Shirt
The denim jacket when paired with a checked shirt makes for a very interesting outfit.

blue-denim-pull-bear-jacket-red

12. Add a Scarf
Of course you can always add a scarf to add one more layer to your outfit. The more layers, the better we say!

DIY-Trendy-Denim-Jacket

13. Jazz It Up With Brooches
A great way to add some bling to your look is to pin some brooches onto your denim jacket.

how-to-wear-a-denim-jacket-with-leggings

14. Pair it with High Waist Trousers

Denim-Jacket-Chanel-Sunglasses

15. Distress Your Jacket
If you love wearing distressed jeans, then you might want to consider distressing your denim jacket as well for that cool worn out look. Take a blade to your jacket and fray it up here and there to give it a distressed look as shown in the picture.

wearing-distressed-jeans

16. Pair it with a Bralette

Style-Your-Jean-Jacket

17. Pair it with a Summer Dress

navy-denim-jacket

18. Pair it with Aztec Print Skirt

how-to-wear-a-denim-jacket-women

19. Denim Jacket with Neon Outfit

fashion-outfits-gor-fall-with-neon-yellow

20. Pair it with a Crop Top

Tips-On-How-To-Wear-Crop-Tops

21. Pair it With Palazzos

How-To-Wear-Palazzo-Pants

22. Pair it With Culottes

Ways-to-Wear-a-Denim-Shirt

23. Wear it with a Vest

How-To-Wear-Denim-Vests

24. Wear it with Leather Pants

womens-Leather-Jacket-Outfits

25. Pair it with Boyfriend Jeans

denim-jacket-double-boyfriend-jeans

26. Pair it with Harem Pants

What-To-Wear-With-Harem-Pants

27. Pair it with a Floral Shift Dress

Denim-Dresses

28. Layer it with a Fur Vest

Outerwear-Denim-Jacket

29. Pair it with Your Evening Gown

What-to-Wear-with-a-Denim-Jacket

30. Pair it with a Romper

Denim-Romper

*Pictures Source – Pinterest*

Much Love

Vee 🙂

D.I.Y-Vintage T-shirt

So recently I was working on a D.I.Y Tea Dyeing project where I turned one of my discarded t-shirts into a lovely vintage cloth. Read on to know how…

img_17831  e8fada01e40988d28492895ba9e7d96f


Things used:

Collage
1) A white cotton t-shirt

2) A vessel to soak the t-shirt

3) Tea bags

4) A scissor


Procedure

Step 1:

Unwrap tea bags and cut off its tags. Fill a large pot with enough water (plus a little extra) to completely cover your t-shirt. When water comes to a boil drop in tea bags and turn off heat (I used 8-10 bags). Let the tea bags steep for about 15-20 minutes.

Step 2:

Be sure heat is off on the pot and insert the cloth. Stir cloth and ensure that it is resting on the bottom to get evenly stained. Use a spoon (or a plate) to flatten out all of the air bubbles. The shirt should be completely submerged in the tea.

Step 3:

Let the cloth steep for at least 1 hour. The stronger the tea, the longer you let the cloth steep, the deeper the stain.

Step 4:

When the cloth is finished steeping, remove it from the pot.

***If you would like to remove the tea scent (which will be mild), briefly rinse in cold water.

Note: Washing and rinsing the fabric will take the colour “down” so you may omit this step if you want a darker colour.

Step 5:

Let dry and iron if necessary.

11056078_10153715165153745_7261047851283205342_o

ADDITIONAL NOTES:
The tea staining method works really well with textiles that will be displayed on the wall or very infrequently washed things like pillow covers.

Try this method out and let me know how it worked for you and stay tuned for many more D.I.Ys.


xoxo 🙂

TIPS – Dress by Body Shape

How to dress different body shapes?

celebrities-with-different-body-types

This post covers most of the DO’S AND DON’TS of how to dress according to your body type and would also help you find fashion that flatters your body.
This being a theory post might make you think it is boring but it gets quite interesting as you read along 🙂
***Fashion is all about dressing your body. If you know your body shape well, you will be able to find clothes that not just fit but flatter your body***
When we think about body types, we focus mainly on height and weight but NO! That is wrong! We should focus on shape. So there are 5 basic BODY SHAPES:
1. PEAR SHAPE
2. TOP HEAVY
3. SLIM/ SLENDER/ ATHLETIC
4. APPLE SHAPE
5. HOURGLASS SHAPE
A slender woman can have the same body shape as a curvy woman, just as a short woman can have the same body shape as her taller friend. So below here the body types have been summed up into 5 shapes for women!
Once you’ve understood your body shape, you can begin to consider which fashion trends to embrace and which to avoid. Spend some time in front of the mirror and do an honest assessment of your body and then put these fashion tips to work for you!
By the end of this post you will exactly know which styles to say ‘YES’ to and which styles to AVOID.

1) PEAR SHAPE

body_type_Pear_Kim_Kardashian

Key facts: This body type has small bust, narrow shoulders, curvy hips and usually bottom heavy.
AIM: Emphasize your waist and arms, add volume to your shoulders and upper body and minimize your hips.

for pear

DON’TS:
• Tops that have narrow ‘V’ necklines as they reduce the width of the shoulders making hips look bigger.
• Pencil skirts as they cling to the hips.
• Pants with side pockets because they accentuate the hips.
• Clothing that draw attention to hips and thighs, such as cargo pants or print skirts.

DO’S:

• Waisted and high waisted A-line skirts as they accentuate waist and disguise hips and bottoms.
• Platform heels and block heels go for this body shape as they balance the bottom half of the body.
• Wide leg pants or high waisted pants accentuate the waist and balance the hips.
• Try A-line skirts as they camouflage wider hips.
• Keep hems of pants, skirts and dresses wide to balance the hips.
• Experiment with light-coloured tops and dark-coloured bottoms for contrast.
• Look for boat neck tops, square and cowl necklines.
• Wear strapless dresses to show off arms and even out proportions.
• Try styles with ruffles on top.
• Wear jackets that hit right above the waist.
• Opt for pointy-toed shoes to elongate your legs.

2) TOP HEAVY

body_type_Wedge_Audrina_Patridge

Key facts: This body type has large bust with a defined waist, small hips and gently rounded shoulders.
AIM: Accentuate your lower body while softening your shoulders and upper body.

for top heavy

DON’TS:
• Spaghetti-strap tops.
• Boat neckline tops
• Skinny jeans or trousers as they make the bust area look larger.
• High waists as they draw attention straight to the bust line.
• Spaghetti style straps as they make the bust and shoulders look larger.

DO’S:
• Wear tops that call attention to your waistline.
• Experiment with high-waisted styles.
• Look for clothes that create the illusion of a waist.
• Structured shape dresses above the waistline as they give a balance and proportion to the shape.
• Jackets that button neatly under the bust because they highlight the waistline.
• Bootleg or wide leg pants add curve around the hip and leg and this creates a balance with the bust line.

3) SLIM/ SLENDER/ ATHLETIC

body_type_Rectangle_Natalie_Portman

Key facts: This body type is slim with small breasts, toned body and narrow hips.
AIM: Create curves and show off slender legs and arms.

for slim

DON’TS:
• ‘V’ or deep scoop necklines because they highlight the small bust.
• Clingy tops as they highlight the lack of waist.
• Baggy tops because they make them look shapeless.
• DON’T wear overwhelming styles

DO’S:
• High necklines as they add inches to the small bust.
• Wrap tops as they create the illusion of a waist.
• Halter neck styles because they highlight the curves.
• Layer to add more dimensions.
• Wear dresses with ruching. Cinches on sides are ideal.
• Have fun with colourful bottoms… feel free to experiment.
• Wear scoop neck and sweetheart tops to create curves.
• Wear long jackets to create a lean look.
• Wear tops with collars, ruffles and details to flatter your chest.
• Wear a good bra that will make the most of what you have.

4) APPLE SHAPE

body_type_Apple_Jennifer_hudson

Key facts: This body type has narrow shoulders, big breasts, and large tummy without a well defined waist and slim legs.
AIM: Elongate the torso, show off your legs and use fashion to create the illusion of a waist.

for apple

DON’TS:
• Pencil skirts with a fitted top that create a top heavy look because they highlight the narrow legs and make the bust look even bigger.
• High waisted styles as they add unnecessary bulk.
• Tapered trousers or skinny jeans as they make the slim legs look even slimmer and enhance the tummy area.

DO’S:
• Waist coats that button under the bust as they divert the attention from the tummy.
• Wide legged trousers because they create balance between upper and lower half.
• Floaty tees or tunic style tops as they skim over the tummy.
• Go for monochromatic looks.
• Opt for v-neck tops to create the illusion of a longer torso.
• Wear a bra that offers good lift and support.
• Wear belts at the smallest part of your waist.
• Conceal tummy bulge by wearing empire tops and dresses.
• Wear boot cut and flared jeans to create an even line from the shoulders down.
• Wear shorter skirts to show off your legs and draw attention away from your midsection.

5) HOURGLASS

body_type_HourGlass_beyonce

Key facts: This body type has a defined short waist, medium to wide shoulders, fuller bust, and curvy hips.
AIM: Show off your curves… without going overboard.

for hourglass

DON’TS:
• Boxy styles because they hide the curves.
• High waisted style as they shorten the area between a fuller bust and waist line.
• Flared styled clothing as they add unnecessary shape.

DO’S:
• Low necklines because they flatter the bust.
• Jackets with a single button as it emphasises the waist line.
• Pencil skirts because it shows the curves.
• Wear a good bra and showcase your bust.
• Wear fitted dresses.
• Wear a belt at the waist to enhance your hourglass shape.
• Try wrap dresses.
• Go for high-waisted skirts to show off your hips.
• Pick thin, lightweight styles and fabrics.
• Wear skinny or straight leg jeans.

Hope these tips help you dress your best according to your BODY SHAPE 🙂

‘Accentuate your best features and disguise what you are not so happy with.
Choose outfits that fit and make you look comfortable rather than those that are uptothe-minute.’
Georgio Armani

Quick Tips to Make Your Manicure Last Longer

Is your gel manicure growing out? Try a reverse glitter ombré look and these other tricks to keep your nails looking fab.

landscape_nrm_1417038095-manicure

1. Use a cotton swab to wipe down your nails with white vinegar before applying basecoat.
This removes any product buildup or natural oils on your nail beds that could create a barrier between the polish. Once your nails dry, apply basecoat.

vinegar

2. Don’t soak nails before painting them.
Manicurists do this to soften cuticles, but it causes nails to retain water and expand. Once they’re painted they’ll shrink, meaning your polish will no longer fit your nails. So ask your manicurist to use cuticle oil instead.

gallery_nrm_1417028567-5

3. File your nails into a shape that mirrors your cuticle’s, which makes them less likely to break.

round4. Avoid getting any polish on your cuticles, which lifts the paint from the nail and leads to chipping.
Don’t cut your cuticles, but you can push them back using cuticle oil and an orange stick or a pusher tool to prevent paint from getting on them.

cuticles5. Use a sticky basecoat to make the polish last longer.

basecoat26. Apply two coats of basecoat to the tips of your nails.
Nail tips are more prone to chipping (see: typing, texting, etc.). Apply another layer of basecoat to the top half of your nails for extra polish resilience.
gallery_nrm_1417023714-47. Instead of shaking your polish up and down, roll it between your hands to eradicate and prevent air bubbles.
If you paint air bubbles onto your nails, they’ll chip faster.
nailpolish8. Don’t skip the “free edge” of your nails.
Run the basecoat, paint, and topcoat around the edge to ensure your entire nail is sealed.
square_nrm_1417023948-2-39. Dry nails with cool air.
Hot air keep the polish from drying so use your blow dryer on its cool setting or a fan. Dipping fingertips in ice water for a minute or two also aids drying.

landscape_nrm_1417028895-610. Reapply a layer of clear topcoat every two to three days to prevent chipping and enhance shine.

landscape_nrm_1417023885-311. Wash your hands with mild soap instead of using hand sanitizer, which dries out your nails and ruins topcoat.

landscape_nrm_1417025375-112. Apply nail oil daily to prevent your nails from drying out and splitting.
The less moisture your nails and cuticles have, the more likely they are to break and tear.

nail-oil13. If your nail polish has started chipping, file your tips down and seal them with another layer of topcoat.

gallery_nrm_1416961719-file-copy14. Hide a gel manicure that has grown out by covering the base of your nails with glitter, creating an ombrè effect.
The best way to distract from a chipped or overgrown manicure is, well, glitter. It’s pretty and will last for what feels like *~FoReVeR~*.

gallery_nrm_1416961845-glitter215. If the tips of your nails have chipped, add super-thin French tip.
Now you’re chipping no more and have a cool updated look.
french-tip16. Wear gloves when doing the dishes to protect your manicure.
The fastest way to ruin a manicure is to submerge your nails in hot water and harsh cleaning chemicals. So if you needed an excuse not to do the dishes, there you go.

gloves

17. If you chip or smudge a nail, smooth the polish ridge with a cotton swap dipped in polish remover.
Otherwise if you just paint over it without smoothing it out, you’ll get a bumpy nail.

smudge